Baseboard & Trimming
Baseboard & Trimming
Baseboard trim and moulding play essential roles in enhancing the aesthetics and functionality of interior spaces. Let’s dive into what they are and how they contribute to home design:
Baseboard Trim:
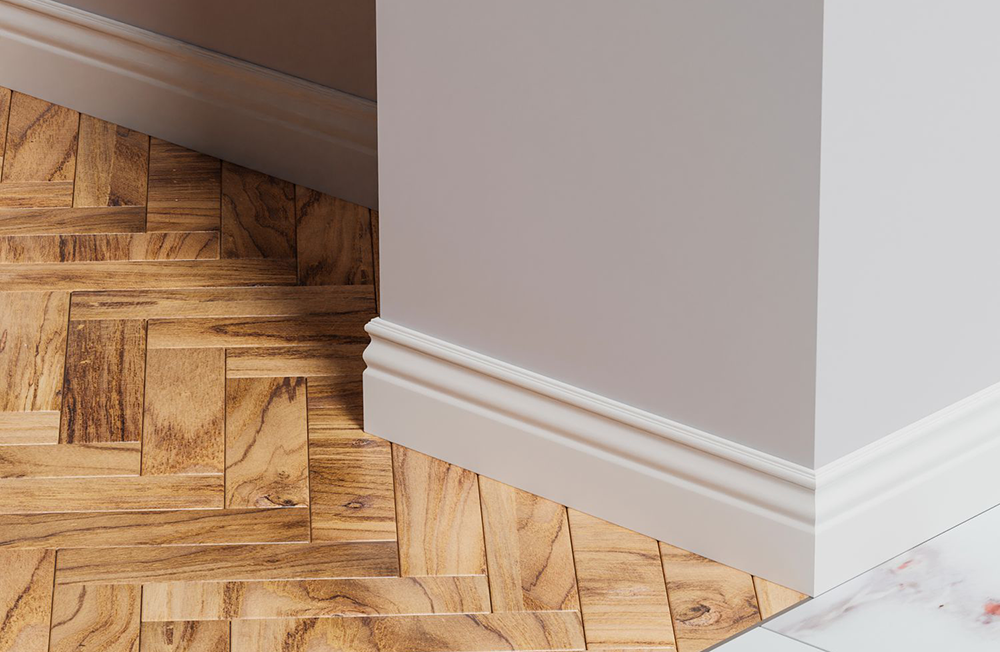
- Baseboard trim (also known as baseboard molding) is a horizontal finishing element installed at the bottom of interior walls where they meet the floor.
- Its primary functions include:
- Covering the joint between the wall and floor, concealing any gaps or imperfections.
- Protecting the wall from damage caused by furniture, vacuum cleaners, and foot traffic.
- Adding visual interest and defining the transition between wall and floor.
- Baseboards come in various profiles, sizes, and materials, allowing homeowners to choose styles that complement their overall design.
Common Baseboard Profiles and Styles:
Solid Pine Baseboard (3¼”):
- Classic and versatile.
- Fits well in various design styles, including farmhouse and traditional homes.
- Minimalistic with straight lines, making it suitable for modern aesthetics.
MDF Baseboard (4¼”):
- Slightly taller than solid pine baseboards.
- Adds drama with a thin top and thicker bottom.
- Ideal for colonial-style homes.
Oak Baseboard (4¼”):
- A straightforward baseboard often seen in modern farmhouse designs.
- Perfect for rustic and warm home aesthetics.
MDF Baseboard (5½”):
- Double-stacked and stands out in a room.
- Flat at the bottom and curvy at the top, adding flair.
Baseboard Caps and Shoes:
- Versatile profiles that embellish classic baseboards.
- Conceal gaps and transitions.
Quarter Round:
- Applied to the bottom of baseboards.
- Provides a streamlined and elegant finishing touch.
How to Install Baseboard Trim:
- Installing baseboard trim is a manageable DIY project:
- Measure and Cut: Measure your walls and cut baseboard pieces accordingly.
- Miter Corners: Use a miter saw to create precise inside and outside corners.
- Attach to Wall: Glue and nail the baseboard pieces to the wall, aligning them with studs.
- Caulk and Finish: Caulk gaps and joints, and touch up with paint.
- Installing baseboard trim is a manageable DIY project:
Remember that high-quality baseboard trim enhances both aesthetics and durability in your home. Whether you’re going for a classic look or a modern twist, baseboards contribute significantly to the overall design!